

I believe Country Fried Chicken is one of those recipes that brings pure comfort to the dinner table. There’s something magical about that golden, crunchy coating giving way to tender, juicy chicken inside. It’s the kind of dish that makes any weeknight feel special.
The first time I made this recipe, I remember standing at my stove on a rainy Tuesday evening, watching that coating turn the most beautiful shade of golden brown. The kitchen smelled incredible, like a Southern diner on a Sunday morning. What I love most about making Country Fried Chicken at home is that you can control everything – the seasoning, the crispiness, and especially that buttermilk brine that makes all the difference. This isn’t just fried chicken; it’s restaurant-quality comfort food that’s surprisingly simple to master once you understand the technique. The double-dredging technique creates layers of crunch that stay crispy even after resting, and that overnight buttermilk soak? It’s the secret to chicken so tender it practically melts in your mouth. Fair warning: my first attempt was pale and greasy because I didn’t monitor the oil temperature closely enough – learn from my mistake and keep that thermometer handy!
Table of Contents
What You’ll Need for Perfect Country Fried Chicken
I always start with boneless, skinless chicken breasts because they cook evenly and are easy to work with. Pro tip: pounding them to an even thickness is crucial for consistent cooking – don’t skip this step!
For the Chicken:
- 4 boneless, skinless chicken breasts (about 6 oz each)
- 1 cup buttermilk
- 1 teaspoon salt
- 1/2 teaspoon black pepper
For the Dredge:
- 2 cups all-purpose flour
- 1 tablespoon salt
- 2 teaspoons black pepper
- 1 teaspoon paprika
- 1 teaspoon garlic powder
- 1/2 teaspoon cayenne pepper (optional, but I recommend it for a subtle kick)
- 1/4 teaspoon onion powder
For Frying:
- 2-3 cups vegetable oil or shortening (I prefer vegetable oil for a neutral flavor)
My Personal Tip: The quality of your buttermilk matters! Fresh buttermilk creates a better brine and tangier flavor. If you don’t have buttermilk, mix 1 cup regular milk with 1 tablespoon lemon juice and let it sit for 5 minutes. Also, invest in a good thermometer – it’s essential for maintaining the right oil temperature and avoiding greasy results.

How to Make Restaurant-Quality Country Fried Chicken
I recommend starting this recipe the night before if possible, as the buttermilk brine works magic on the chicken while you sleep. Plan for at least 4 hours of brining time.
Step 1: Place the chicken breasts between two sheets of plastic wrap and pound to an even thickness of about 1/2 inch. This ensures every piece cooks at the same rate and stays juicy throughout. Use the flat side of a meat mallet and work from the center outward with gentle, even pressure.
Step 2: In a large bowl, whisk together the buttermilk, 1 teaspoon salt, and 1/2 teaspoon black pepper until well combined. Add the chicken breasts and make sure they’re fully submerged in the buttermilk mixture. Cover and refrigerate for at least 4 hours, though overnight (up to 24 hours) is ideal for maximum tenderness. The acids in the buttermilk break down proteins, making your Country Fried Chicken incredibly tender.
Step 3: In a shallow dish, combine the flour, 1 tablespoon salt, 2 teaspoons black pepper, paprika, garlic powder, cayenne pepper (if using), and onion powder. Mix thoroughly with a fork to distribute the seasonings evenly throughout the flour.
Step 4: Remove the chicken from the buttermilk, allowing excess to drip off but keeping the chicken still moist. Dredge each piece in the flour mixture, pressing gently with your palms to help the coating adhere. Shake off excess flour over the dish.
Step 5: Dip the chicken back into the buttermilk, coating completely, then dredge again in the flour mixture for that signature double coating. This is what creates those incredibly crispy layers. Shake off excess flour and place on a wire rack. Let rest for 10-15 minutes to help the coating set – this prevents it from sliding off during frying. Skipping this rest period will result in coating that separates from the chicken.
Step 6: In a large, heavy-bottomed skillet or Dutch oven, heat oil to a depth of 2-3 inches (about 2-3 cups) until it reaches 350°F (175°C). Use a thermometer to monitor the temperature closely. Test readiness by dropping a pinch of flour – it should sizzle immediately. If the oil is too hot, the coating burns before the chicken cooks through. Too cool, and you’ll get greasy, soggy chicken. The oil should never exceed halfway up the pan sides for safety.
Step 7: Carefully place the chicken in the hot oil using tongs, working in batches of 2 pieces at a time for a standard 12-inch skillet to avoid overcrowding. Fry for 5-7 minutes per side, until the coating turns a deep golden brown (not pale gold, not dark brown) and the internal temperature reaches 165°F (74°C). Watch for bubbles to slow down slightly – that’s your visual cue the chicken is nearly done.
Step 8: Transfer the cooked Country Fried Chicken to a wire rack set over a baking sheet to drain excess oil. Never use paper towels, as they trap steam and make the coating soggy. Let rest for 5 minutes before serving – this allows juices to redistribute throughout the meat, ensuring every bite is moist and flavorful.
Pro Tip: If your oil temperature drops below 325°F after adding chicken, increase the heat slightly and wait for it to come back up before adding more pieces. Maintaining consistent temperature is the key to crispy, not greasy, results.
Best Sides to Serve with Country Fried Chicken
Country Fried Chicken pairs beautifully with classic Southern sides that balance its richness and create a complete meal experience.
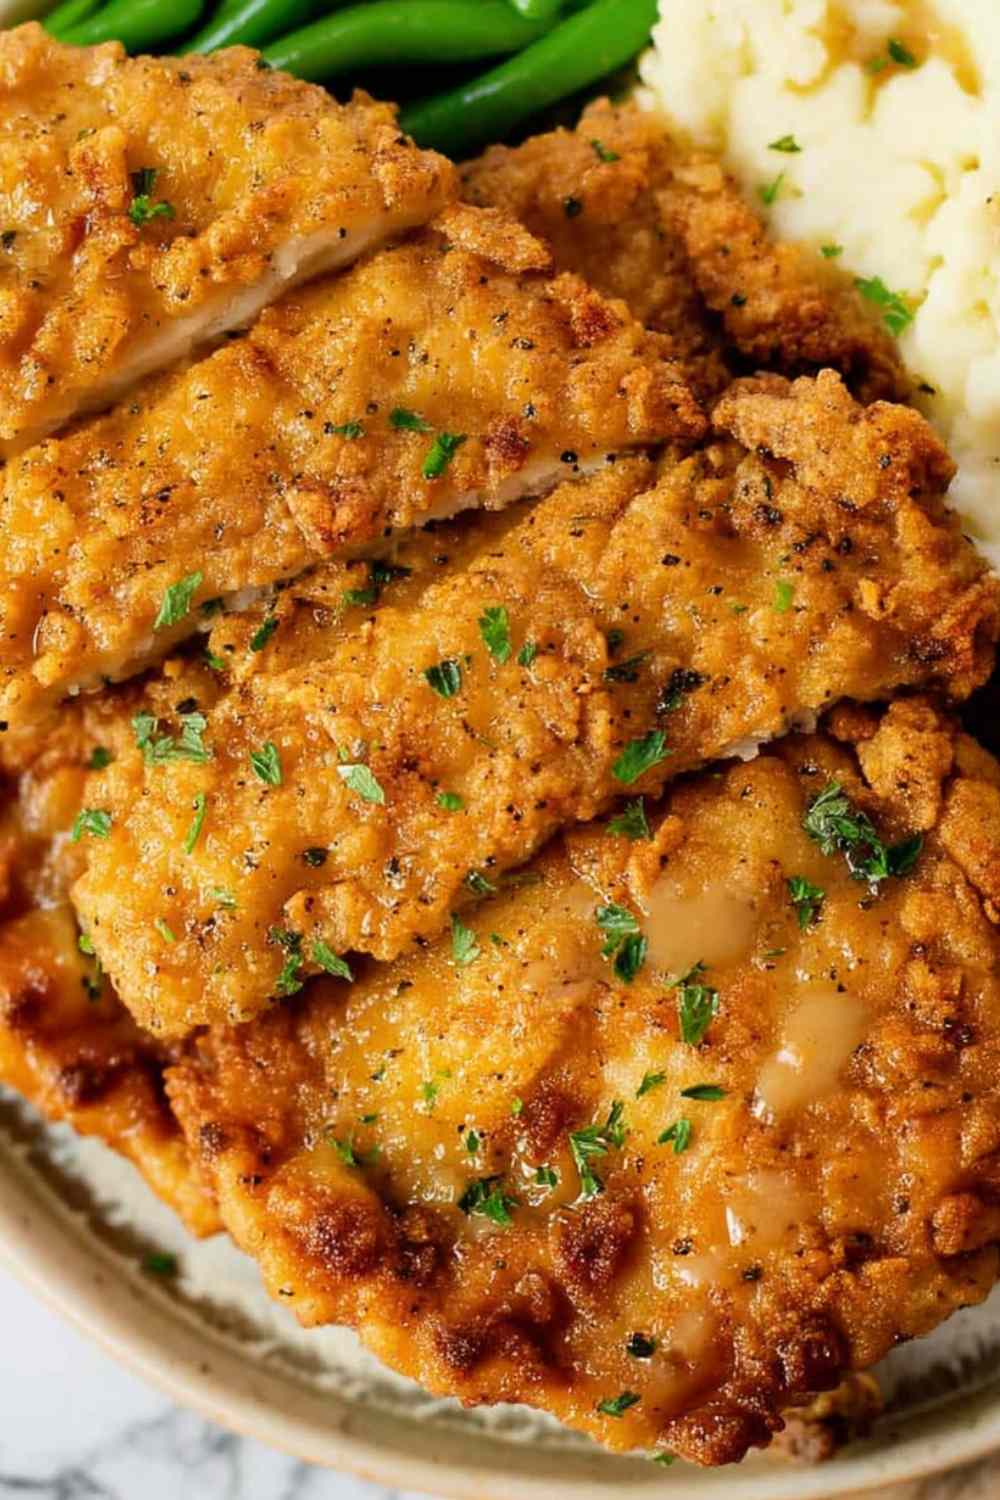
Creamy Mashed Potatoes with Country Gravy: The ultimate comfort food pairing. The smooth, buttery potatoes and savory gravy complement the crispy chicken perfectly, creating that authentic diner-style experience at home.
Fresh Coleslaw: A tangy, crunchy coleslaw cuts through the richness of fried chicken and adds a refreshing contrast. The acidity helps cleanse your palate between bites, making each one as satisfying as the first.
Buttery Cornbread: Slightly sweet cornbread with honey butter is a Southern staple that soaks up any extra juices and gravy on your plate. The texture contrast between fluffy bread and crispy chicken is unbeatable.
Honey Biscuits: Fluffy, flaky biscuits with a drizzle of honey create the perfect sweet and savory combination that elevates your Country Fried Chicken dinner to special-occasion status.
Collard Greens or Green Beans: A veggie side adds nutritional balance and a slightly bitter note that contrasts beautifully with the savory fried chicken, plus it adds color to your plate.
More Delicious Chicken Recipes to Try
Country Fried Chicken pairs wonderfully with other Southern-inspired comfort food dishes that showcase tender, flavorful chicken. For another crispy coating technique, try the elegant Parmesan Crusted Chicken with Creamy Garlic Sauce which uses a cheese-based breading for incredible flavor.
When looking for more hearty chicken dinners, the creamy Chicken Scampi with Creamy Garlic Parmesan Rice makes an excellent weeknight meal, while the rich Creamy Tuscan Chicken brings Italian-inspired flavors to the table. For a lighter option that still delivers on flavor, the Honey Lime Chicken Avocado Rice Stack offers a fresh, balanced meal perfect for any night of the week.

Storing and Reheating Your Country Fried Chicken
Store leftover Country Fried Chicken in an airtight container in the refrigerator for up to 3 days. Make sure the chicken has cooled completely before sealing to prevent moisture buildup that makes the coating soggy.
To reheat, I recommend placing the chicken on a wire rack set over a baking sheet and heating in a 350°F (175°C) oven for 10-15 minutes. This method helps restore the crispy coating while heating the meat through evenly. Avoid microwaving, as it will make the breading soft and chewy instead of crispy.
Pro tip: For meal prep, you can freeze the breaded (but not fried) chicken for up to 2 months. Let it thaw in the refrigerator overnight, then fry as directed. You can also freeze fully cooked chicken and reheat it straight from frozen at 375°F for about 20 minutes. The coating won’t be quite as crispy as fresh, but it’s still delicious.
Common Questions About Country Fried Chicken
Can I use chicken thighs instead of breasts?
Absolutely! Bone-in, skin-on thighs work wonderfully for Country Fried Chicken and stay even juicier due to their higher fat content. Just adjust the cooking time to 8-10 minutes per side and ensure the internal temperature reaches 165°F.
Why is my coating falling off during frying?
This usually happens if the chicken is too wet when dredging or if you skip the 10-15 minute resting period after the second coating. Make sure to let excess buttermilk drip off between dredging steps and always allow the coated chicken to rest before frying so the coating can set properly.
Can I make this recipe gluten-free?
Yes! Use a 1:1 gluten-free flour blend in place of all-purpose flour. The texture will be slightly different but still delicious and crispy. Make sure your blend contains xanthan gum for better coating adhesion.
Time to Make This Southern Classic Your Own
Country Fried Chicken is one of those recipes that looks impressive but is genuinely achievable for home cooks of any skill level. The combination of that buttermilk brine and double-dredging technique guarantees results that rival any restaurant. Once you master this method and understand the importance of temperature control, you’ll never want to order fried chicken out again. Try this recipe and bring a taste of the South to your dinner table – just remember to start that brine early and keep your thermometer close!
Country Fried Chicken: The Ultimate Crispy, Juicy Southern Classic

Perfectly seasoned, juicy, and incredibly crispy Country Fried Chicken with buttermilk brine and double-dredged coating. Classic Southern comfort food made easy.
- Prep Time: 20 minutes
- Cook Time: 15 minutes
- Total Time: 4 hours 35 minutes
- Yield: 4 servings 1x
- Category: Main Course
- Method: Fry
- Cuisine: Southern American
Ingredients
- 4 boneless, skinless chicken breasts (about 6 oz each)
- 1 cup buttermilk
- 1 teaspoon salt (for brine)
- 1/2 teaspoon black pepper (for brine)
- 2 cups all-purpose flour
- 1 tablespoon salt (for dredge)
- 2 teaspoons black pepper (for dredge)
- 1 teaspoon paprika
- 1 teaspoon garlic powder
- 1/2 teaspoon cayenne pepper (optional)
- 1/4 teaspoon onion powder
- 2–3 cups vegetable oil or shortening
Instructions
- Place chicken breasts between two sheets of plastic wrap and pound to an even thickness of about 1/2 inch.
- In a large bowl, whisk together buttermilk, 1 teaspoon salt, and 1/2 teaspoon black pepper. Add chicken breasts and make sure they’re fully submerged. Cover and refrigerate for at least 4 hours or up to 24 hours for best results.
- In a shallow dish, combine flour, 1 tablespoon salt, 2 teaspoons black pepper, paprika, garlic powder, cayenne pepper (if using), and onion powder.
- Remove chicken from buttermilk, allowing excess to drip off. Dredge each piece in flour mixture, pressing gently to adhere. Shake off excess flour.
- Dip chicken back into buttermilk, then dredge again in flour mixture for a double coating. Shake off excess flour and place on a wire rack. Let rest for 10-15 minutes to help coating set.
- In a large, heavy-bottomed skillet or Dutch oven, heat 2-3 inches of oil to 350°F (175°C). Monitor temperature with a thermometer.
- Carefully place chicken in hot oil, working in batches of 2 pieces to avoid overcrowding. Fry for 5-7 minutes per side, until deep golden brown and internal temperature reaches 165°F (74°C).
- Transfer cooked chicken to a wire rack set over a baking sheet to drain excess oil. Let rest for 5 minutes before serving to allow juices to redistribute.
Notes
- The buttermilk brine is essential for tender, juicy chicken. Don’t skip this step or shorten the brining time below 4 hours.
- Letting the chicken rest for 10-15 minutes after the second dredging helps the coating adhere better during frying and prevents it from sliding off.
- Maintaining oil temperature at 350°F is crucial for crispy, not greasy, chicken. Use a thermometer and adjust heat as needed.
- Don’t overcrowd the pan, as this lowers oil temperature and results in soggy coating. Fry in batches of 2 pieces for best results.
- Never drain on paper towels – use a wire rack to keep the coating crispy by allowing air circulation.
Nutrition
- Serving Size: 1 chicken breast
- Calories: 520 kcal
- Sugar: 2 g
- Sodium: 890 mg
- Fat: 28 g
- Saturated Fat: 4 g
- Unsaturated Fat: 22 g
- Trans Fat: 0 g
- Carbohydrates: 32 g
- Fiber: 2 g
- Protein: 38 g
- Cholesterol: 110 mg


