

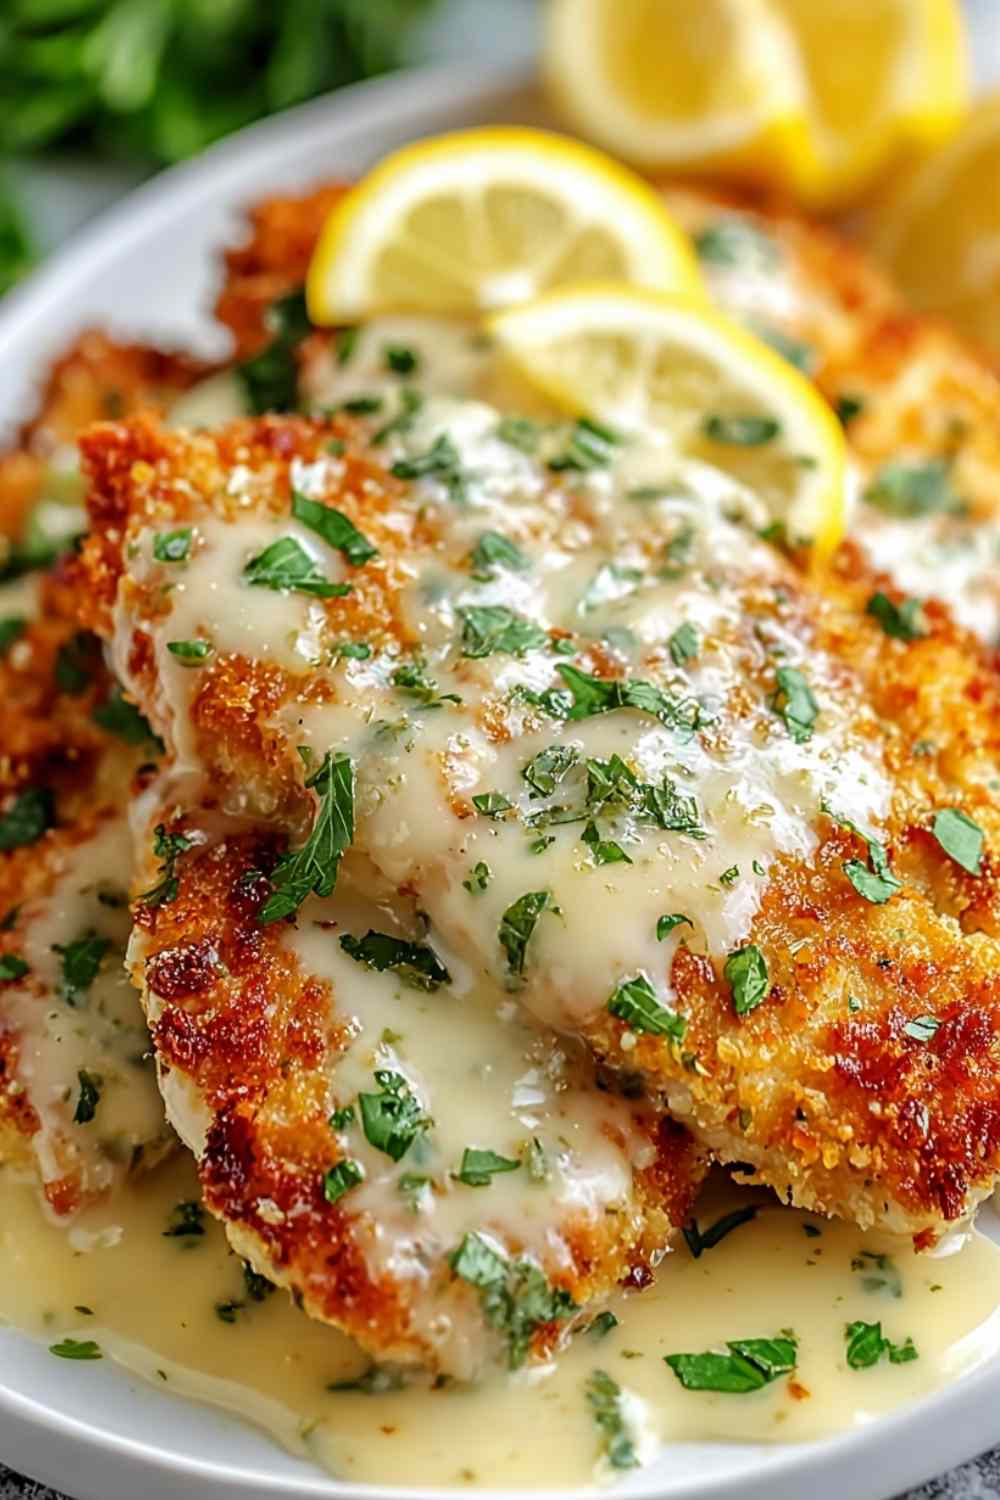
Cheesecake Factory Crusted Chicken Romano brings restaurant-quality flavor right to your kitchen with a golden, crispy cheese crust that’s absolutely irresistible. This copycat recipe delivers that signature crunch and rich Romano flavor you love, without the wait or the price tag.
I still remember the first time I ordered this at Cheesecake Factory – one bite of that crispy, cheesy crust and I was hooked. After years of craving it, I finally cracked the code to making this Crusted Chicken Romano at home, and honestly, it tastes just as good as the restaurant version. The secret is in pressing that Parmesan Romano mixture firmly onto the chicken so it forms a thick, crunchy coating. It’s become my go-to dinner when I want something special but don’t want to leave the house. Serve it over fresh pasta with arugula and tomatoes, and you’ve got a complete meal that looks and tastes like you ordered takeout.
Table of Contents
What You’ll Need for This Cheesecake Factory Copycat
This Cheesecake Factory Crusted Chicken Romano starts with simple ingredients that create restaurant-worthy results. I always use freshly grated Parmesan and Romano for the best flavor and texture – pre-shredded cheese just doesn’t crisp up the same way.
- 4 boneless, skinless chicken breasts (about 6 oz each)
- 1/2 cup all-purpose flour
- 2 eggs, beaten
- 1 1/2 cups shredded Parmesan cheese (freshly grated works best)
- 1/2 cup shredded Romano cheese
- 1 teaspoon garlic powder
- 1/2 teaspoon black pepper
- 1/2 cup olive oil or vegetable oil for frying (enough for 1/4-inch depth)
- 12 oz fettuccine or linguine, cooked according to package directions
- 2 cups arugula (fresh baby arugula preferred)
- 1 cup grape tomatoes, halved
- 1/2 cup lemon-basil vinaigrette or your favorite dressing
Pro tip: I recommend pounding the chicken to an even thickness so it cooks uniformly and the cheese crust doesn’t burn before the center is done.

Step-by-Step Cooking Instructions
I prefer working in batches when pan-frying this chicken to avoid overcrowding, which keeps that crust extra crispy and golden.
Step 1: Place each chicken breast between two pieces of plastic wrap. Using a meat mallet or heavy pan, pound the chicken to an even 1/2-inch thickness throughout. This ensures the Crusted Chicken Romano cooks evenly and quickly.
Step 2: Set up your breading station with three shallow dishes. Put the flour in the first dish, beaten eggs in the second, and mix together the Parmesan cheese, Romano cheese, garlic powder, and black pepper in the third dish. This assembly line makes coating smooth and efficient.
Step 3: Working with one piece at a time, dredge each chicken breast in the flour, shaking off any excess so only a thin, light coating remains. Dip it into the beaten egg, letting the extra drip off back into the bowl.
Step 4: Press the chicken firmly into the cheese mixture on both sides. Really pack that cheese on there – don’t be shy. The more you press, the crustier and more flavorful your Cheesecake Factory Crusted Chicken Romano will be. Set coated chicken aside on a plate.
Step 5: Heat the oil in a large skillet over medium-high heat to about 1/4-inch depth. Test if it’s ready by dropping in a pinch of the cheese mixture – it should sizzle immediately. Carefully place 2 chicken breasts in the hot oil, being careful not to overcrowd the pan.
Step 6: Cook for 3 to 4 minutes without moving the chicken. You’ll see the edges turning golden brown. Flip carefully with a spatula and cook another 3 to 4 minutes on the second side until the crust is crispy and deep golden and the internal temperature reaches 165°F on an instant-read thermometer.
Step 7: Remove chicken from the skillet and let it rest on a wire rack for 3 to 5 minutes. This keeps the bottom crust from getting soggy and lets the juices redistribute. Repeat with remaining chicken breasts.
Step 8: While the chicken rests, toss your cooked pasta with arugula, grape tomatoes, and lemon-basil vinaigrette in a large bowl. The warm pasta will slightly wilt the arugula, which is perfect.
Step 9: Slice each chicken breast on the diagonal into strips and serve over the pasta salad. The presentation looks just like the restaurant!
Common mistake to avoid: Don’t use high heat or the cheese crust will burn before the chicken cooks through. Medium-high is perfect for that golden color and fully cooked interior.
What to Serve with Crusted Chicken Romano
This dish pairs beautifully with light, fresh sides that complement the rich cheese crust. The best sides for Cheesecake Factory Crusted Chicken Romano balance the richness without overwhelming the star of the plate.
Garlic Bread: Crispy, buttery garlic bread is perfect for soaking up any extra vinaigrette and adds a satisfying crunch that matches the chicken’s texture.
Caesar Salad: A classic Caesar with romaine, Parmesan, and creamy dressing echoes the Italian flavors in the Crusted Chicken Romano while adding freshness.
Roasted Vegetables: Seasonal roasted zucchini, bell peppers, or asparagus bring color and nutrition while their caramelized edges complement the crispy cheese coating.
Caprese Salad: Fresh mozzarella, tomatoes, and basil with balsamic glaze create a light, summery pairing that won’t weigh you down.
Sauteed Green Beans: Simple green beans with garlic and olive oil add a crisp, clean element that cuts through the richness of the cheese crust.
More Delicious Chicken Dinners to Try
This Cheesecake Factory Crusted Chicken Romano pairs beautifully with other Italian-inspired chicken dishes that deliver restaurant-quality results at home. For another creamy, indulgent option, try the rich Creamy Tuscan Chicken with sun-dried tomatoes and spinach, or the elegant Parmesan Crusted Chicken with Creamy Garlic Sauce that features a similar crispy coating technique.
When craving more cheese-crusted chicken variations, the impressive Texas Roadhouse Smothered Chicken delivers melted cheese and savory mushrooms, while Hot Honey Feta Chicken adds a sweet and spicy twist. For lighter pasta-based meals similar to this recipe’s presentation style, consider the flavorful Cheesy Garlic Chicken Pasta or protein-packed Garlic Butter Chicken Bites with Creamy Parmesan Pasta.

How to Store and Reheat Your Chicken
Store leftover Cheesecake Factory Crusted Chicken Romano in an airtight container in the refrigerator for up to 3 days. I recommend storing the chicken separate from the pasta salad to keep the crust from getting soggy.
To reheat, place chicken pieces on a baking sheet and warm in a 375°F oven for 8 to 10 minutes until heated through and the crust crisps back up. Avoid the microwave if possible – it makes the coating soggy instead of crispy. If you must microwave, reheat in 30-second intervals and finish under the broiler for 1 to 2 minutes to re-crisp the cheese.
Pro tip: This chicken actually makes incredible sandwiches the next day. Slice it thin, pile it on a ciabatta roll with fresh arugula and a drizzle of balsamic, and you’ve got an amazing lunch.
Your Questions About This Recipe Answered
Can I bake this Crusted Chicken Romano instead of frying?
Yes! Place the breaded chicken on a greased baking sheet, drizzle with a little olive oil, and bake at 400°F for 20 to 25 minutes, flipping halfway through. It won’t be quite as crispy as pan-fried, but it’s a lighter option.
What cheese can I substitute if I don’t have Romano?
You can use all Parmesan cheese or try Asiago for a similar sharp, nutty flavor. Pecorino Romano is another excellent choice that’s very close to regular Romano.
Why is my cheese crust falling off?
Make sure to press the cheese mixture firmly onto the chicken and let the coated chicken rest for 5 minutes before frying. Also, don’t move the chicken around once it hits the pan – let it cook undisturbed so the crust can set and adhere properly.
Ready to Make Restaurant Magic at Home?
This Cheesecake Factory Crusted Chicken Romano proves you don’t need a reservation to enjoy restaurant-quality meals. With a crispy cheese crust, tender chicken, and fresh pasta salad, it’s a complete dinner that feels special but comes together easily. Try this recipe tonight and bring that Cheesecake Factory experience right to your own dinner table!
Cheesecake Factory Crusted Chicken Romano

A copycat recipe for Cheesecake Factory’s famous Crusted Chicken Romano with a crispy Parmesan and Romano cheese crust, pan-fried and served over pasta.
- Prep Time: 15 minutes
- Cook Time: 25 minutes
- Total Time: 40 minutes
- Yield: 4 servings 1x
- Category: Chicken
- Method: Pan-fry
- Cuisine: Italian-American
Ingredients
- 4 boneless, skinless chicken breasts (about 6 oz each)
- 1/2 cup all-purpose flour
- 2 eggs, beaten
- 1 1/2 cups shredded Parmesan cheese
- 1/2 cup shredded Romano cheese
- 1 teaspoon garlic powder
- 1/2 teaspoon black pepper
- 1/2 cup olive oil or vegetable oil for frying
- 12 oz fettuccine or linguine, cooked
- 2 cups arugula
- 1 cup grape tomatoes, halved
- 1/2 cup lemon-basil vinaigrette or your favorite dressing
Instructions
- Place chicken breasts between two pieces of plastic wrap and pound to an even 1/2-inch thickness.
- Set up three shallow dishes: one with flour, one with beaten eggs, and one with Parmesan cheese, Romano cheese, garlic powder, and black pepper mixed together.
- Dredge each chicken breast in flour, shaking off excess. Dip in egg, letting excess drip off. Press firmly into cheese mixture on both sides, ensuring full coverage.
- Heat oil in a large skillet over medium-high heat to 1/4-inch depth until shimmering. Test readiness by dropping a pinch of cheese mixture – it should sizzle immediately.
- Carefully place chicken breasts in hot oil and cook for 3 to 4 minutes per side until crust is golden brown and crispy and internal temperature reaches 165°F.
- Remove chicken from skillet and let rest on a wire rack for 3 to 5 minutes to keep crust crispy.
- In a large bowl, toss cooked pasta with arugula, grape tomatoes, and lemon-basil vinaigrette.
- Slice chicken on the diagonal and serve over pasta salad.
Notes
- Use freshly grated Parmesan and Romano for best flavor and crispiest texture. Pre-shredded cheese doesn’t crisp as well.
- Don’t overcrowd the pan when frying. Cook in batches if needed to maintain oil temperature and ensure even browning.
- For a lighter option, bake at 400°F for 20 to 25 minutes, flipping halfway through and drizzling with olive oil.
Nutrition
- Serving Size: 1 chicken breast with pasta
- Calories: 685 kcal
- Sugar: 4 g
- Sodium: 890 mg
- Fat: 35 g
- Saturated Fat: 12 g
- Unsaturated Fat: 21 g
- Trans Fat: 0 g
- Carbohydrates: 48 g
- Fiber: 3 g
- Protein: 48 g
- Cholesterol: 215 mg


